
Getting Started With

A step by step guide to using Automator
Automator uses a different approach to automation. Instead of automating dozens of parameters, you automate one thing: the State. Each State stores a complete set of EQ, gain, pan and width settings. Automator then transitions between these States for you.
This guide walks you through the entire workflow from first launch to full automation.
Understanding the Interface
The Channel Strip
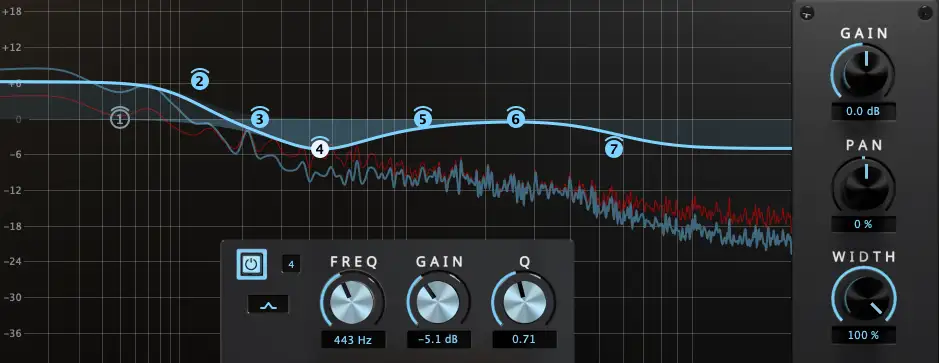
Automator includes a seven band EQ along with gain, pan and width controls. When you first open the plugin, you can use these controls exactly like any other channel strip. Nothing unusual happens until you begin working with States.
The State Selector

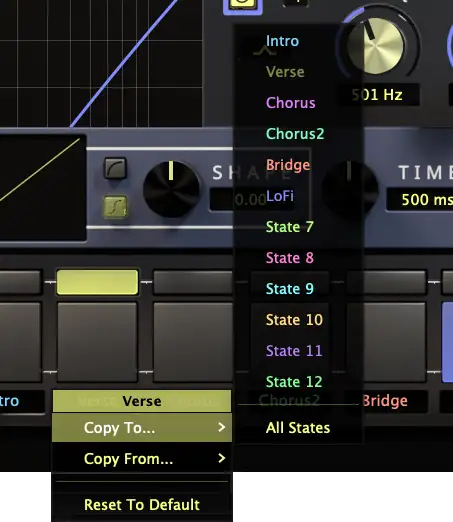
Below the channel strip is a row of twelve State buttons. Each button represents a State. A State is similar to a preset, but with one important difference. You can automate which State is active in your DAW.
The State parameter is the only parameter you need to automate. When the State changes, Automator transitions every control to the settings stored in that State.
You can name each State by clicking the label under its button.
The Edit State Selector
Above the main State buttons is a row of smaller buttons. These select the Edit State. The Edit State is the State you are currently modifying in the interface.
The Edit State can be the same as the Live State or it can be different. This allows you to edit a future section of the song while listening to a different section.
Engage the “Link” button to make sure the Edit and Live state are always matching.
Knob Behavior
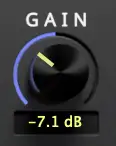
Every knob shows two values at once.
The pointer shows the Edit State value.
The ring shows the Live State value. The ring always shows what Automator is actually processing. If the ring on the gain knob shows +6dB, then you will hear 6dB of gain.
You can copy the value of any knob to another state by right clicking the knob.
How to Use Automator
Step 1
Insert Automator on any track or bus.
Step 2
Use the EQ, Gain, Pan and Width controls just as you would on any plugin. These settings are stored in State 1 by default.
Step 3
Choose another State and set up the next section.
For example, set up a brighter chorus in State 2 or a LoFi breakdown in State 3.
Step 4
Automate the State parameter in your DAW.
Wherever the automation lane switches from one State number to another, Automator transitions between the two sets of settings.
Step 5
Adjust transition times in the Transition section to control how quickly Automator moves from one State to the next.
Quick Tip Videos
Edit and Live States
Easily edit and swap states using the the State Selection button array.
Transition Time
How to use the transition time in Automator to control exactly how long it takes to transition from one state to the next.
Automate Filter Types
Automator smoothly transitions between filter types and bypassed bands, allowing you to change filter types without the hard transition.
Transition Mode
Automator can either morph or crossfade between states. This video shows what each mode sounds like.